A. Loading data into the Run Fitness Generator
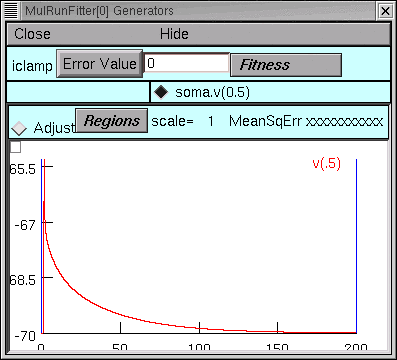
We'll do the same as in the first tutorial : read the data into NEURON's clipboard, and then paste it into the Generator.
We recall from the first tutorial that the red trace is our data, and the vertical blue lines are the cursors for setting the "optimization regions."

B. Testing the Run Fitness Generator
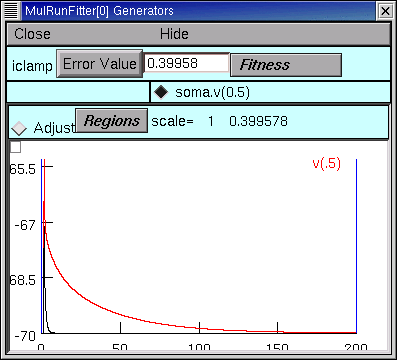
Now we should be able to do a little test of our iclamp Run Fitness Generator :
clicking on its Error Value button should launch a simulation, producing a trace that shows
the trajector of soma.v(0.5) and reporting an error value as shown here.

Also, we should probably make a new init...hoc file that we can use to automatically load the model and the MRF (instead of having to start init_iclamprawmodel.hoc, wait for it to complete a simulation, and then manually use the Main Menu's File / load session to retrieve iclampfit.ses).
So let's copy init_iclamprawmodel.hoc to init_iclampopt.hoc,
and then change init_iclampopt.hoc so that it reads like this :
  load_file("nrngui.hoc")
  load_file("rawmodel.ses")
  load_file("iclamp_rig.ses")
  load_file("rn.hoc")
  load_file("iclampfit.ses")
Next we specify the model parameters that are to be adjusted.
Copyright © 2004 by N.T. Carnevale and M.L. Hines, All Rights Reserved.