Some morphometric data files contain errors or require special attention for one reason or another.
-
Zooming in and out
- Before we start, take a new look at the shape in the Import3D tool.

Those two little green lines in the dense clusters are new. They appeared after exporting to the CellBuilder. And is there a little orange blob at one end of each green line?
To answer these questions, let's zoom in for a closer look.
A. Zooming in
First make sure that the Import3D tool's Zoom button is on (if it isn't, just click on it).
Then click on the canvas, just to the right of the area of interest, and hold the mouse button down while dragging the cursor to the right. If it becomes necessary to re-center the image, click on the Translate button, then click on the canvas and drag the image into postion. To start zooming again, click on the Zoom button. Repeat as needed until you get what you want.

Here's a closeup of the upper blob, which is now revealed to be an irregular shape bounded by a thin red line that defines its perimeter. This is the soma of a neuron. At least 9 neurites converge on it, and a fine red line connects the proximal end of each of them to the center of the soma.
The green line is the principal axis of the soma, as identified by the Import3D tool. The thin red lines perpendicular to the principal axis define the points on the perimeter that Import3D uses to calculate the effective surface area and volume of the soma.
If you zoom in on the other green line and orange blob, you'll find another soma there.
So zooming reveals that this particular morphometric data file contained measurements from at least two different cells.
To zoom out, make sure the Zoom button is on, then click near the right edge of the canvas and drag toward the left.
To quickly fit the whole image to the window, just use the graph's "View = plot" menu item. First, bring up the graph's primary menu by clicking on the menu box in the left upper corner (or right click anywhere in the window), and hold the mouse button down.
While holding the mouse button down, move the cursor up just a little bit, and the graph's secondary menu will appear.
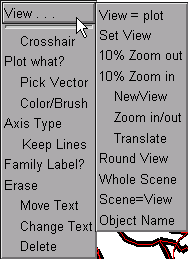
Still holding the mouse button down, move the cursor over to select the "View = plot" item in the secondary menu.
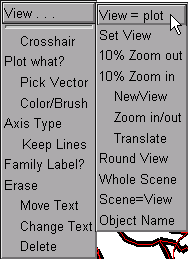
Release the button, and the image will be rescaled so that it fits inside the window.
- Taking a close look at the shape of things.
In this example, we discover what lies at the center of one of the dense clusters of branches in the example from the lesson on Reading a morphometric data file and converting it to a NEURON model.